
AI Video Guides
Single-Image Animation, First and Last Frames, or Multi-Reference Video: Which Workflow Fits?
Choose an AI video workflow for one image, a planned ending or consistent characters. Includes reference preparation, motion prompts and shot-by-shot checks.
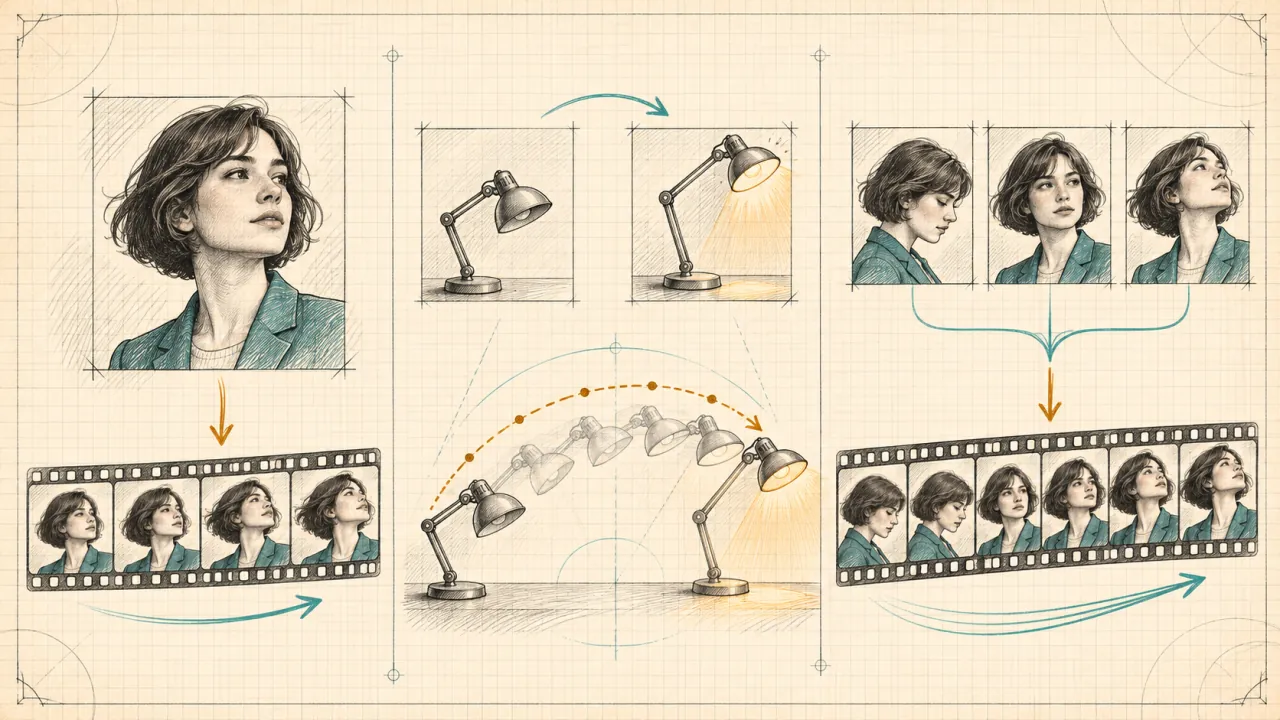
Have one image? Start with single-image animation. Have a required ending? Use first-and-last-frame control with compatible endpoints. Need the same character across different shots? Use a curated multi-reference workflow, then inspect continuity. Choose by the constraint you need to protect, rather than by the number of files you can upload.
These are three ways to condition a video, not three quality tiers. An image can define a starting composition, a destination or an identity reference; those roles are different. More references help only when their roles are clear and the selected model supports them.
We checked public product pages and primary documentation on November 9, 2026. The prompts and review process below are editorial recommendations, not measured success rates. All six illustrations are conceptual technology sketches, not generated-video results.
Contents
- Choose by the requirement you cannot lose
- Single-image animation: develop a clear starting frame
- First and last frames: plan a reachable ending
- Multi-reference video: define identity across shots
- Prepare references without creating conflicts
- Combine workflows in a short production
- Review the result and control retry costs
- Frequently asked questions
- Primary documentation
Choose by the requirement you cannot lose
| Your material and requirement | Best starting workflow | Main control | What still needs checking |
|---|---|---|---|
| One portrait, illustration or product photo; a little movement | Single-image animation | Opening appearance and composition | Identity, edges and movement throughout |
| A starting image and a required ending image | First and last frames | Both endpoint compositions | The intervening path and the actual final frame |
| The same person or product in several new scenes | Multi-reference video | Recurring appearance and reference roles | Identity in every shot and at cuts |
| Only an approved ending image | Prepare a compatible beginning, or use a documented last-frame-only mode | Destination | Whether that exact endpoint supports the mode |
| A character campaign with a specific final product shot | Split into shots and combine workflows | Identity plus endpoint requirements | Continuity between separately generated clips |
Ask three questions: What must the opening look like? What must the ending look like? What must remain the same? If only the opening is fixed, one image is often enough. If two compositions are approved, endpoint control is useful. If the scene changes while the person stays recognizable, reference conditioning addresses the relevant problem.
Also separate the website from the model. As the platform's About page explains, pikah3flex.com is independent and is not the official Pika service. Its public workflow pages currently say Pika H3 Flex itself is unavailable here. Confirm the actual model, mode and supported inputs before generating.
Single-image animation: develop a clear starting frame
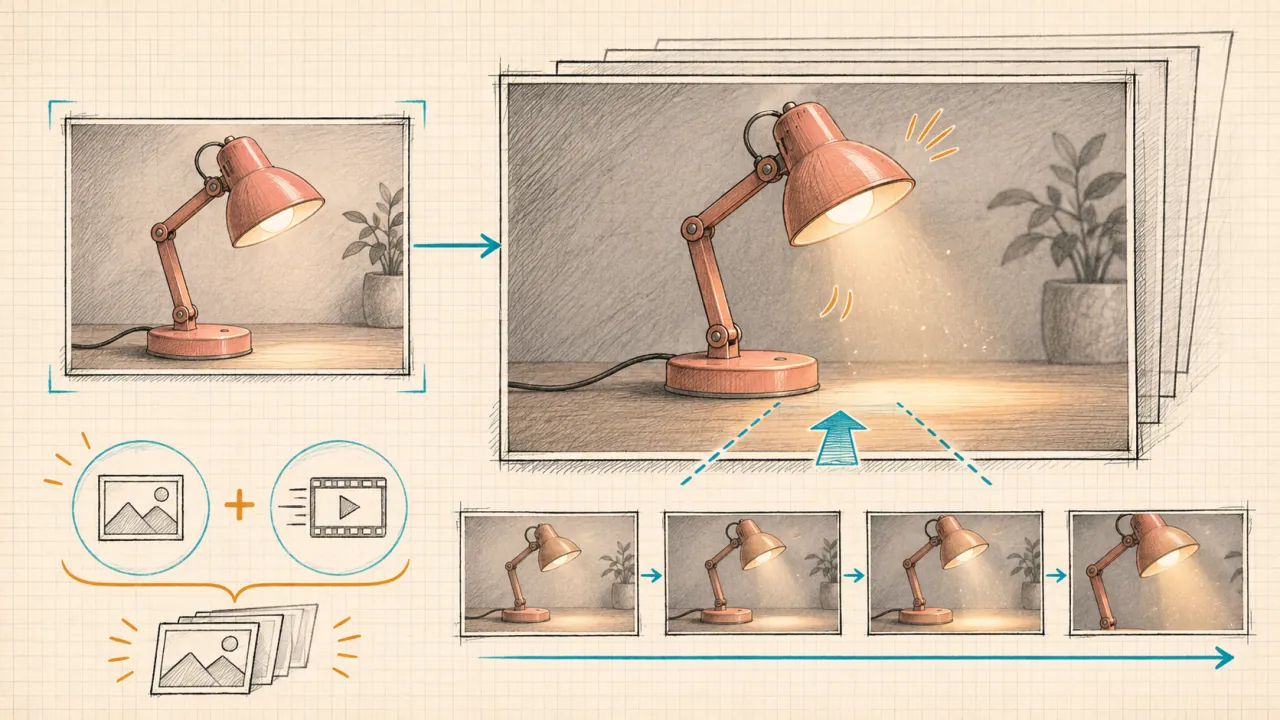
Single-image animation, commonly called image-to-video, turns a still image into the visual starting point for motion. It suits a portrait that blinks, a product with moving reflections, a landscape with drifting mist, or an illustration with subtle environmental movement.
The source already supplies appearance, composition and lighting. Your prompt should concentrate on what changes over time. Re-describing the subject in contradictory terms introduces avoidable ambiguity: a teal jacket in the image should not become a red coat in the motion brief.
Start with one action and one camera decision
On the Image to Video page, upload a clear source, choose a compatible model and check the supported output settings. For an initial test, use one modest action with a fixed camera or one slow camera move.
For a product image, try this adaptable brief:
Use the uploaded lamp image as the starting composition. The lamp remains upright and unchanged on the desk. A soft reflection travels slowly across its shade while dust drifts through the light beam. Fixed camera, steady exposure, one continuous shot. Preserve the lamp's silhouette and material. No new objects or text.
For a portrait, replace the action with one blink, gentle breathing and a small expression. Avoid combining a head turn, walking, a new outfit and an orbiting camera in the first experiment.
This is not a guarantee of exact preservation. A model must infer surfaces hidden behind the original view. A large orbit around a front-facing product asks it to invent the back; a small push-in requires less unseen information. Reduce the reveal or add appropriate references if those hidden details matter.
Choose another workflow when: a specific ending is mandatory, or multiple scenes must preserve the same character from substantially different angles. A single starting frame does not independently specify either requirement.
First and last frames: plan a reachable ending
First-and-last-frame generation gives the model two temporal anchors: where the clip begins and where it should finish. It is useful for a controlled reveal, a pose transition, a product moving between approved positions, or a transition between storyboards.
MiniMax's base video prompt guide distinguishes first-frame, first-and-last-frame and last-frame tasks. Its endpoint workflow describes a continuous route connecting the supplied pictures. That distinction explains why two ordinary reference uploads should not automatically be treated as timeline endpoints.
Check whether the transition is physically plausible
Before uploading the pair, compare subject identity, frame shape, background, scale, lighting and camera angle. The fewer unplanned differences, the clearer the intended action.
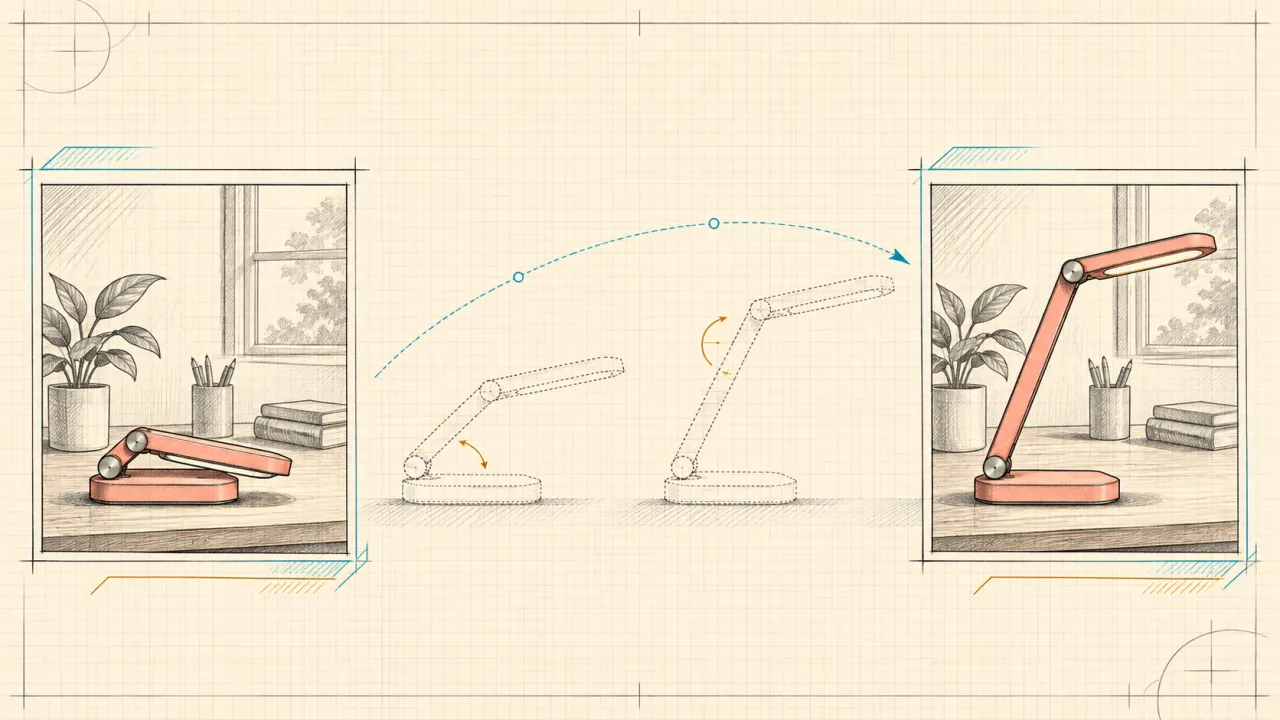
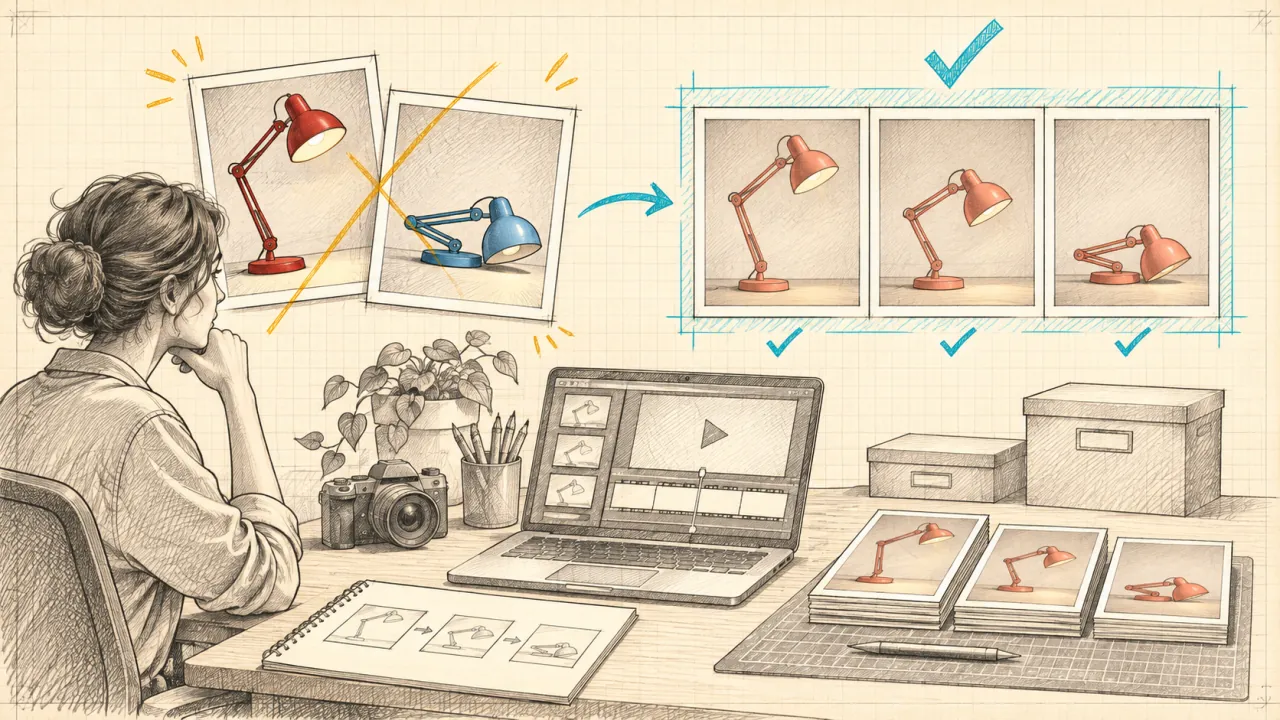
Consider the same desk lamp folded down in the first image and raised in the last. A hinge movement is a plausible connection. If the second image also changes the lamp's color, replaces the desk and switches from daylight to night, the model must interpret several competing changes. Simplify the pair or deliberately design a transformation shot.
Where supported by the selected model, use the platform's first-and-last-frame mode. Put each file in its designated endpoint slot and verify the mode remains selected. A suitable motion brief is:
Begin with the lamp folded as shown in the start frame. In one continuous shot, the hinge opens gradually and the shade rises to the position shown in the end frame. The base stays planted. Fixed camera and constant lighting. Finish with the end-frame composition and hold briefly if the chosen duration permits.
Use the interface's actual attachment syntax. These plain-language examples are briefs, not universal API payloads or a substitute for model-specific formatting.
If you only have the ending
Prepare a beginning that preserves the same person, object, setting and frame geometry. You can derive a compatible starting pose through image editing and approve it before generating motion. Alternatively, choose a last-frame-only workflow only when the selected model and access route explicitly expose one.
Do not assume that a model's documented last-frame capability exists in every website integration. Nor does requesting “end on this image” in text establish an endpoint binding by itself.
Identical start and end images can help plan a loop, but do not guarantee a seamless one. The join also depends on motion direction, speed, lighting and moving background elements. Inspect playback across the join.
Multi-reference video: define identity across shots
Multi-reference video uses a set of materials to guide recurring appearance, setting, style or motion. Unlike a first frame, a character reference need not be a literal frame in the finished clip. It can explain who appears while the prompt specifies a different composition.
The platform's Reference to Video workflow supports reference materials according to the chosen model. Its public guidance explicitly notes that character and product details can still vary. Check whether the current selection accepts multiple images, video references or audio; these are separate capabilities.
Build a small reference set with explicit roles
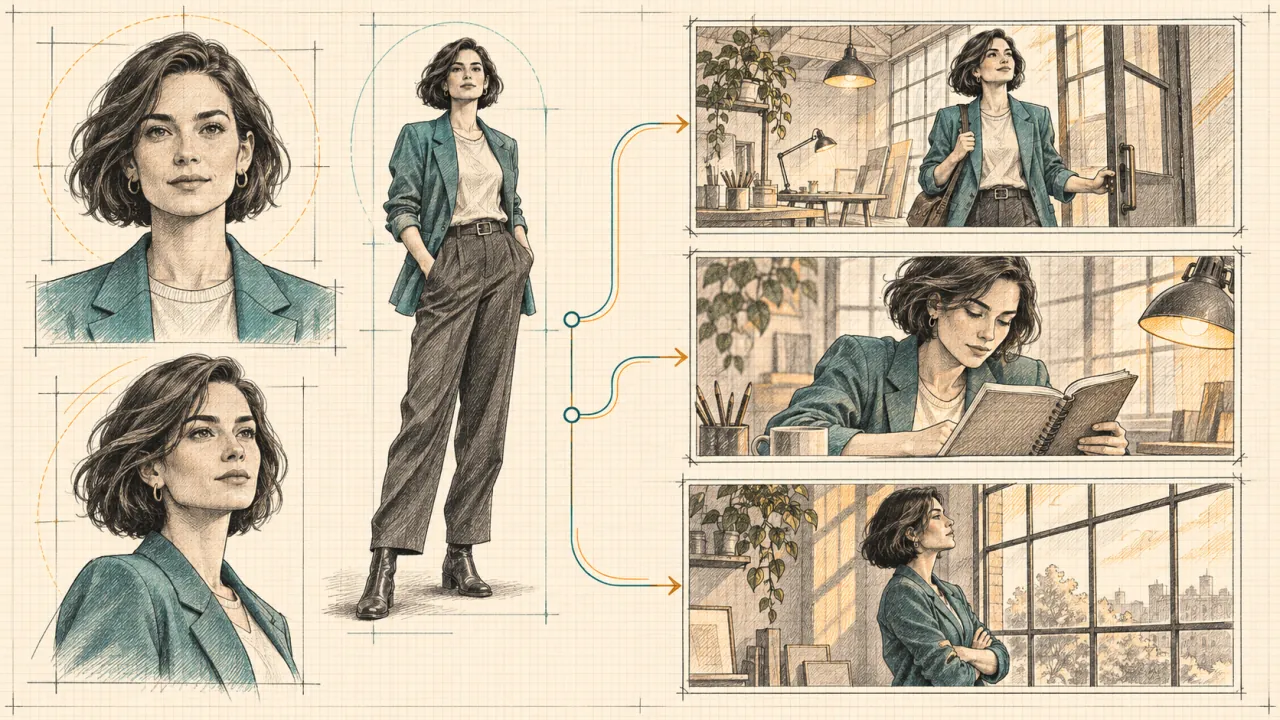
For a recurring character, start with a clear front or three-quarter portrait and a complementary view of the same person. Add a full-body view when proportions or clothing matter. These are suggested materials, not a universal upload allowance.
Keep wardrobe, hairstyle, age appearance and distinctive accessories consistent. Use a separate environment reference only if it adds necessary information. An unrelated person in a location image can introduce identity ambiguity.
Describe each asset's purpose before describing the shot:
Reference A defines the woman's face, short dark bob and teal jacket. Reference B shows the same woman and outfit from another angle. Reference C supplies only the studio's window lighting and layout. In a medium shot, the woman walks to the desk, places a notebook down and stops. Keep her facial structure, hair and clothing recognizable. Fixed camera, one continuous action.
Replace A, B and C with the selected interface's real reference tokens. MiniMax's full-reference guide distinguishes subject definitions, retention and shot descriptions; this supports the broader habit of assigning each input a clear role.
More files are not automatically better. A portrait, a side view and a costume reference showing different people can encourage a blended identity. First remove the conflict; adding more images rarely clarifies which contradictory face should win.
For a multi-shot story, approve a clean identity baseline before adding complex actions. Compare the character at the beginning, middle and end of each clip, including turns and occlusions. A matching first frame does not establish continuity through the whole sequence.
Prepare references without creating conflicts
Treat reference preparation as a short editorial pass:
- Choose the delivery ratio. Prepare endpoint images for the same intended frame shape. Check whether the interface crops, pads or resizes them.
- Preserve useful detail. Keep the face readable and the product's important edges visible. Avoid screenshots with interface chrome or multiple competing subjects.
- Remove contradictions. Align wardrobe, product variant, labels and lighting unless a change is deliberate.
- Label the role. Record “identity,” “setting,” “first frame” or “last frame” next to each asset in your shot plan.
- Check upload limits and rights. Verify the selected model's allowed file types, sizes, counts and reference durations. Use material you are entitled to process and publish.
For video references, specify whether you want motion, framing or atmosphere. A reference clip containing a different actor should not silently become a replacement identity. When audio references are supported, define their purpose separately from the visual reference set.
Keep logos and mandatory on-screen copy outside the generative step when exact typography is essential. Composite approved artwork in editing, then review tracking and placement. More input pixels cannot by themselves guarantee faithful small text.
Combine workflows in a short production
Suppose you need a short campaign featuring a woman and a desk lamp. Split the brief into three deliverable shots rather than asking one generation to solve everything:
| Shot | Requirement | Proposed workflow | Approval gate |
|---|---|---|---|
| Product introduction | Preserve an approved pack shot | Single-image animation | Shape, color and label placement |
| Character interaction | Recognize the same woman | Multi-reference video | Face, jacket, proportions and hand contact |
| Closing reveal | Land on an approved lamp pose | First and last frames | Reachable motion and ending composition |
Generate the simplest version of each shot first. Assemble rough cuts before investing in more elaborate movement. Adjacent clips should agree on screen direction, object position, lighting and where the character is looking. A technically good clip can still fail its place in the edit.
If a new shot starts from the previous clip's final frame, check that frame before reusing it. Feeding a distorted face into the next generation makes the distortion part of the new starting material. Return to an approved reference when continuity begins to drift.
Write an acceptance card before the first attempt
For each shot, record the input roles, required action, allowed camera movement and details that must survive. For the lamp close-up, the card might say: “same coral shade, same hinge, base fixed, no lettering changes, one slow light sweep.” For the character interaction, it might require the approved face and jacket, a notebook that remains solid, and believable contact with the desk.
Separate these requirements from preferences such as warmer grading or stronger background blur. A candidate that breaks a required product feature needs revision even if its lighting is attractive. A candidate that satisfies every requirement can move to editing without another generation merely to chase a different mood.
This shot card also gives a collaborator something concrete to review. Save it beside the selected references and result so a later revision starts from the approved decisions.
Review the result and control retry costs
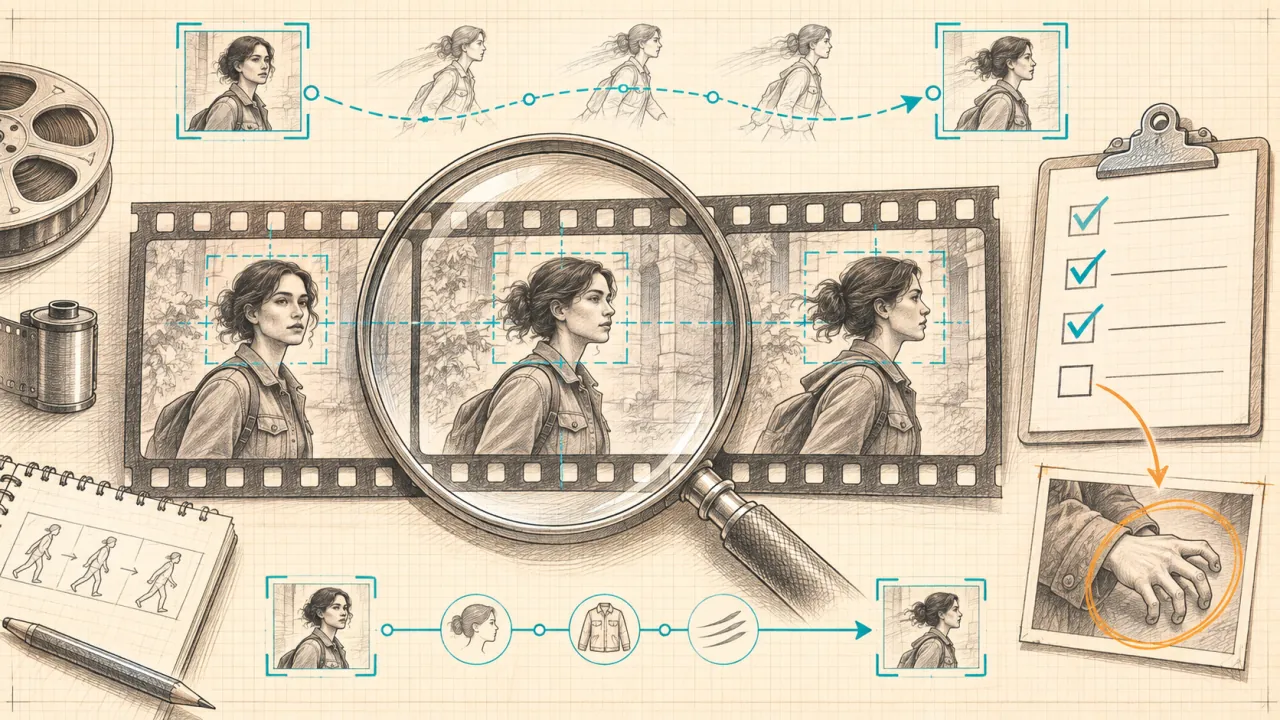
Review against the brief before judging visual polish. Use the same checks for every candidate:
| Symptom | First revision to try | Acceptance check |
|---|---|---|
| Face changes during a turn | Reduce rotation; add a consistent complementary reference if supported | Compare facial structure and hairstyle across the turn |
| Ending is reached through an abrupt morph | Simplify endpoint differences or allow more suitable supported duration | Review intermediate poses and the final frames |
| Multiple identities blend | Remove contradictory or unnecessary references | One recognizable person throughout |
| Product warps or label changes | Reduce motion; composite critical text later | Compare silhouette and key details frame by frame |
| Individually good shots fail at the cut | Align framing, gaze and screen direction | Watch the assembled sequence |
Check anatomy, contact, shadows, reflections, unwanted objects and audio separately. Endpoint similarity, identity continuity and motion quality are different acceptance criteria; success on one does not establish the others.
Change one variable per retry and keep the model, prompt, reference set and settings with the result. For cost planning, use:
Cost per accepted clip = (generation spending + reference preparation + editing and review) ÷ accepted clips.
Compare the current quote and plan or Credit Pack terms before submitting. Keep cash and Credits in separate columns unless you state a conversion basis. Set a small trial allowance; if attempts fail in the same way, revise the inputs or workflow instead of repeating the same request.
Frequently asked questions
Can I maintain a character with just one picture?
For a restrained shot, one clear image can be a useful identity anchor. New angles and separate scenes expose information the image does not contain. Use consistent complementary references when supported, and inspect every result.
Are two reference images the same as first and last frames?
No. References can describe identity or style without specifying time. Endpoint slots bind images to the beginning and ending. Select the appropriate mode and attachment roles explicitly.
Does a reference video copy the original movement exactly?
Do not assume exact motion transfer. Establish what the selected model supports and how the interface uses the clip. Request the relevant movement or framing, then compare the result against that limited goal.
Which workflow should I try first?
Use the simplest input that expresses the hardest requirement: one starting image for a small animation, a compatible pair for an approved ending, or a curated reference set for recurring identity. Add complexity only when a specific missing control requires it.
Primary documentation
- MiniMax H3 base video prompt guide: task distinctions and temporal frame alignment.
- MiniMax H3 full-reference guide: reference roles and shot-level descriptions.
Documentation and linked product pages were checked on November 9, 2026. Model documentation describes its own access route; the selected platform integration determines the controls available in your session.